Earlier today I’ve been following the Arduino Tutorial for driving a 74HC595 shift register which turned out to work pretty well.
In short, a shift register is an electronical component that can be controlled using 3 wires to change the output of 8 pins, or even more when two or more shift registers are chained together. Using a shift register can be useful when you need some more output pins on a microcontroller but only want to use few pins on the microcontroller itself.
I really suggest taking a look at the linked tutorial above for more information, everything worked great following the steps described there.
Limited number of pins on a microcontroller? Did anybody say “ATtiny”?!
Yes, there we go:
It is pretty straight forward to port the Arduino example code for controlling a shift register to work with an ATtiny45 as well.
- Upload the ArduinoISP sketch to the Arduino Uno
- Load the Shift Register sketch into the Arduino IDE
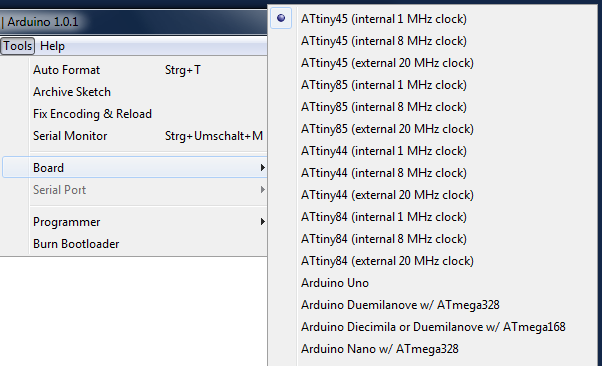
- Switch the board settings to ATtiny45
- Connect the ATtiny45 to the Arduino Uno (see my previous posting for more infos)
- Upload the sketch through the Adruino Uno to the ATtiny
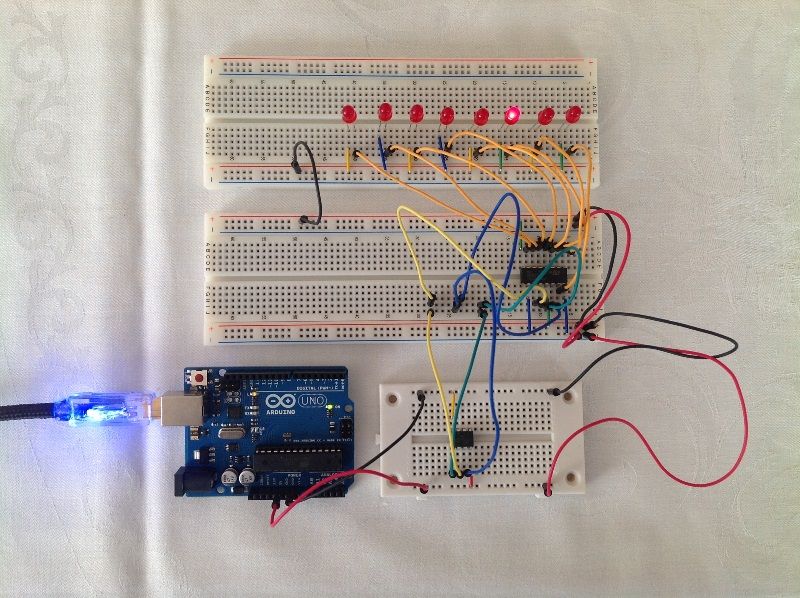
As you can see in the photo above, the Arduino is only used as a power source, the shift register – lighting the LEDs – is just driven by the ATtiny45 on the small breadboard.
I’ve been using a very simple blinking pattern which I set up in the code in an array of bytes (can you guess the pattern? shouldn’t be too hard due to the LED setup), and the program is about 1084 bytes in size. As the ATtiny45 comes with 4096 bytes of program memory there is still a decent amount of space left to build a more complex program, because I guess most of the code is used by the “invisible” part of your program (not the directly written user code but the “infrastructure” code to make it run on the chip) – but that’s just a guess ;)
Anyway, shift registers are a powerful “tool” which is easy to use because the Arduino comes with both predefined functions to work with shift registers and also useful examples, so depending on your project needs you might want to give the shift registers a try.


